


From 2 day I was not publishing any post because I was busy in making this awesome blogger templates.Deepak Kamat Css expert and Author of our blog help lot to design whole body.He insert lot of dynamics features in this template.
World First Free Template With Manual Slider- Many Big photography blog like damnlol.com having good looking slider by which user can easily slide to next post without going to home.I find this type on Google but no template I find with manual slider. That's y We created this template.It is not easy task to create this manual slider it is hard work of our author Deepak Kamat .
How we create Manual Slider- With Css and Html we replace older and never link with this slider.First we make it float on left and right side of blog than we added style and hover effect on it,But which it looks awesome.
Features-
- 2 Coloum
- Right Sidebar
- Daynamic Navigation Menu
- Daynamic Popular post widget
- Dynamic Header
- Header With Hiding hover Effect.
- Meta Tags Added
- Navbar Removed
- Dynamic Post Title
- Css Manual Slider
- Subscribe Gadget With Css Hover Effect
- Latest Jqurey plug-in Added
- Hover Effect Labels
- Neat And Clean
- Seo Friendly
Download
This is hard work of our we will not give this template easily.This template is 100% free but you need to do little work by which you will get this template.Follow Below Steps To Get This Template
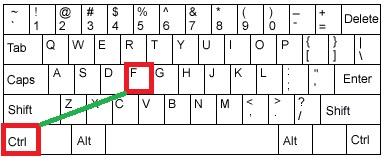
Step 1- Just Subscribe Us Via Email
Screenshot-
Dynamic Header
Dynamic Post Title With Hover Effect
Mouse Hover Effect

Labels

Css3 Navigation With Hover Effect

Manual Slider

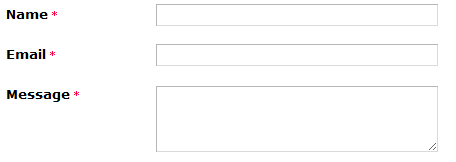
Subscribe

Protected
DMCA Protected You Can Redistribute or remove or edit this template.This template is only for using not for distributing.You are also not having any right to remove or change attribution Below Template.


.jpg)


 .
.


