


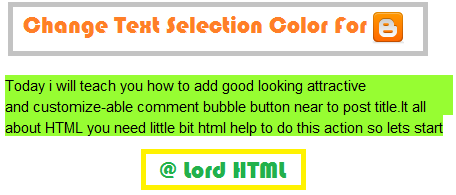
Adding Author information below post is very important if you want to verify your authorship in Google.I made this gadget it is awesome because it is having Hover effect and also active effect.In normal position color of this box will be yellow but when you mouse over it then it changes it color to green and when you click on box it will change it color to Red.
Now lets see how to add this widget to blogger blogs.
Step 1
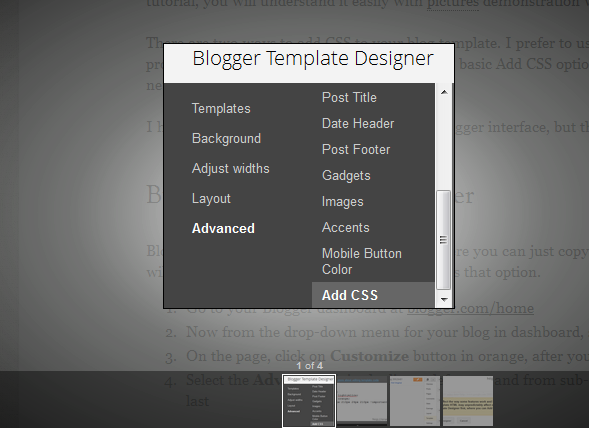
- Go to Blogger Dashboard > Design > Edit HTML
- Search ]]></b:skin> (How To Search)
- Add below code just above ]]></b:skin> and save template.
.author_info {
float: left;
width: 520px;
padding: 10px;
border: 1px solid #000000;
margin-bottom: 15px;
margin-top: 15px;
background: #FFFF7F;
font-family:verdana;
}
.author_info:hover {
border: 1px solid #2EFE2E;
background: #E0F8E0;
}
.author_info:active {
border: 1px solid #FF3300;
background: #FECCBF;
}
.author_info h3 {
margin-bottom: 10px;
font-family:consolas;
}
.author_photo {
float: right;
margin: 15 0 0 10px;
}
.author_photo img {
border: 1px solid #666;
}
Step 2
- Go to Blogger Dashboard > Design > Edit HTML
- Search <div class='post-footer-line post-footer-line-1'/> (How To Search)
- Add below code just above <div class='post-footer-line post-footer-line-1'/> and save template.
<b:if cond='data:blog.pageType == &quot;item&quot;'>
<div class='author_info'>
<div class='author_photo'>
<img alt='author' src='YOUR IMAGE URL'/ height="120" width="120"></div>
<h3>About Author:</h3>
<p><a href='http://lordhtml.blogspot.com' title='Posts by Aumkar Thakur'>Aumkar Thakur</a> He is WebDesigner who know lot of SEO tricks You Can See his Blog <a href='http://lordhtml.blogspot.com'> Lord HTML</a></p>
<p>Aumkar Thakur is a professional blogger and web developer. Follow him on <a href='http://twitter.com/technologyblg'>Twitter</a> or <a href='http://www.facebook.com/'>Facebook.</a><br style='clear:both;'/></p>
</div>
</b:if>
I highlighted the keyword you need to change little hard but you can do it.


.png)


 .
.


